Creating a Character and Its Expressions
The goal of this workflow is to create a unique character, Hiro, a Japanese child in Pixar cartoon style, starting from an initial idea. Through a combination of advanced tools and techniques, the workflow illustrates how to create a character sheet, correct errors and inconsistencies, generate dynamic facial expressions, and train a model.
Workflow Objective
Phase 1: Character Creation
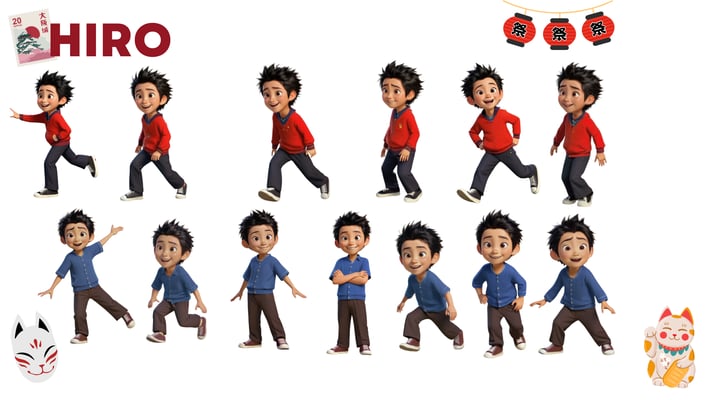
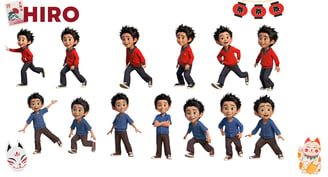
The starting point was the idea of creating Hiro, a Japanese child in cartoon style. Before arriving at the final design, I generated several characters until I found the one that best reflected my creative and technical vision.
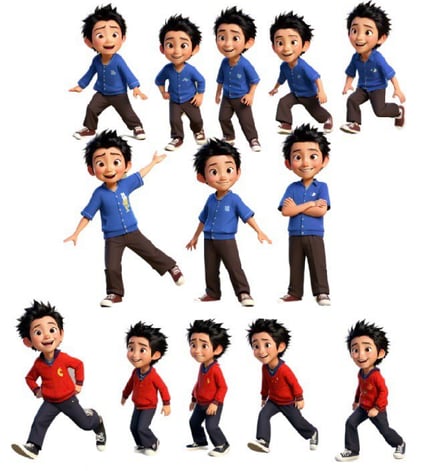
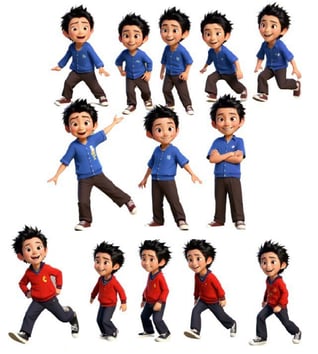
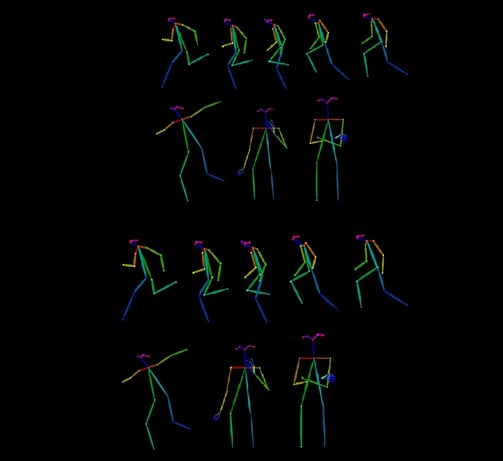
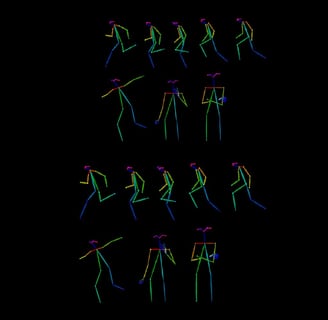
To develop the character sheet, I used a workflow based on OpenPose, integrated with ControlNet, which allowed me to generate:
• T-Pose as a static base.
• Dynamic poses that reflect the movement and personality of the character.
The starting images were stick figures from OpenPose, used as input to position Hiro in specific poses through a Text-to-Image system. This process allowed me to place the character accurately, maintaining consistency between the poses.
Subsequently, I performed an upscale of the images and restored the details, focusing on improving the face to ensure a high-quality final result.
Phase 2: Image Preparation
After generating the character sheet, each position of the character and each image was resized to a uniform 1024x1024 pixel format. This step was essential to ensure consistency between the images and prepare them for the subsequent stages.
During this phase, I manually corrected errors and inconsistencies, such as:
• Malformed hands.
• Inconsistent hair details.
• Malformed shoes and incorrect proportions.
For these corrections, I used tools to modify specific areas of the images while maintaining the appearance of the original style. This process ensured that each image was ready for the next training phase without losing the visual consistency of the character.
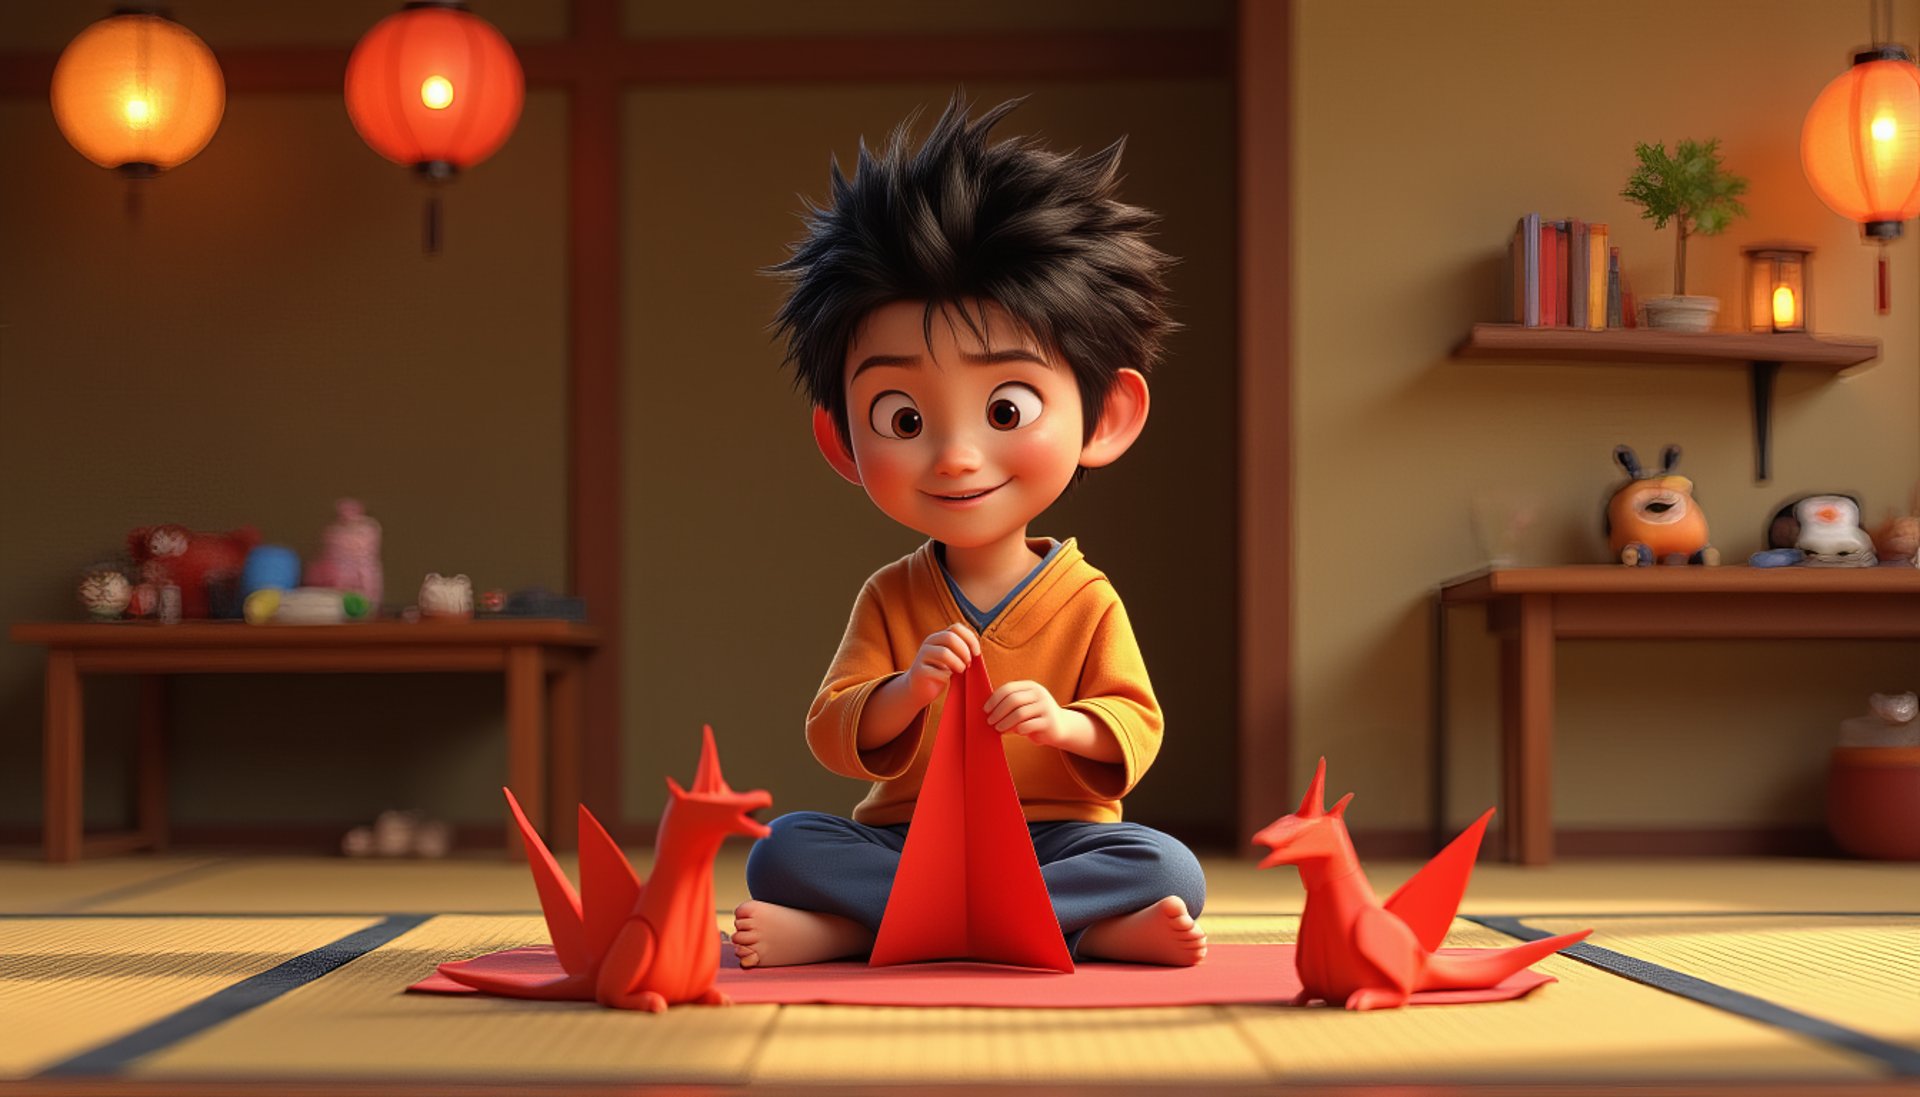
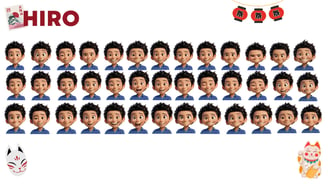
Phase 3: Creation of Facial Expressions
The ultimate goal was to develop a complete LoRA model for the character Hiro. To achieve this, I created a wide range of facial expressions using a dedicated facial expression workflow.
This workflow allows for:
• Inputting reference images: Generating specific facial expressions based on a photo.
• Manual parameter adjustments: Customizing details such as:
• Mouth opening and closing.
• Eye position.
• Head tilt.
• Eyelid position.
Thanks to this process, I was able to create a series of expressions that represent Hiro in various emotions, such as: Happiness, Surprise, Concentration, Embarrassment, and "Troublemaker" attitudes. This phase was crucial for making Hiro a versatile and lively character, ready to be used in the LoRA training.

Phase 4: Creation of the LoRA Model
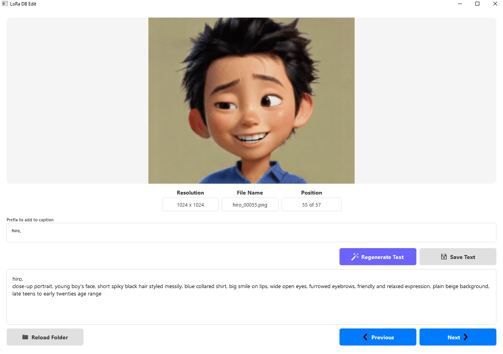
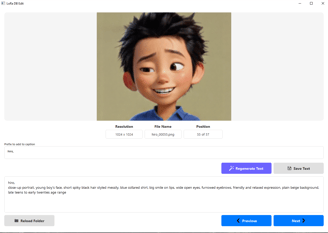
Once the dataset was completed, I prepared the data for the LoRA training, including images and associated text files. To generate accurate descriptions of the images, I used my custom captioning program, LoraDBEdit version 2.
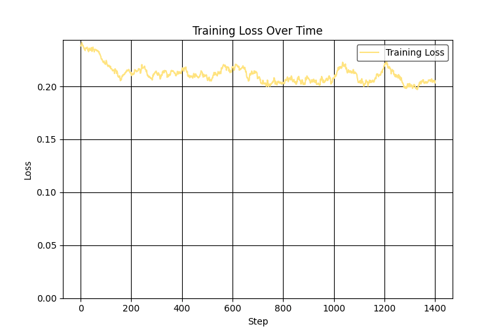
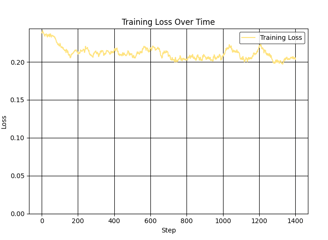
The training was performed with:
• Network DIM: 64.
• Network Alpha: 64.
• A maximum of 1500 steps, optimized for a limited dataset.
Despite a slightly high Loss, we still achieved good results. Thanks to this configuration, the LoRA model was trained to maintain Hiro's visual consistency and his versatility in different poses and expressions.
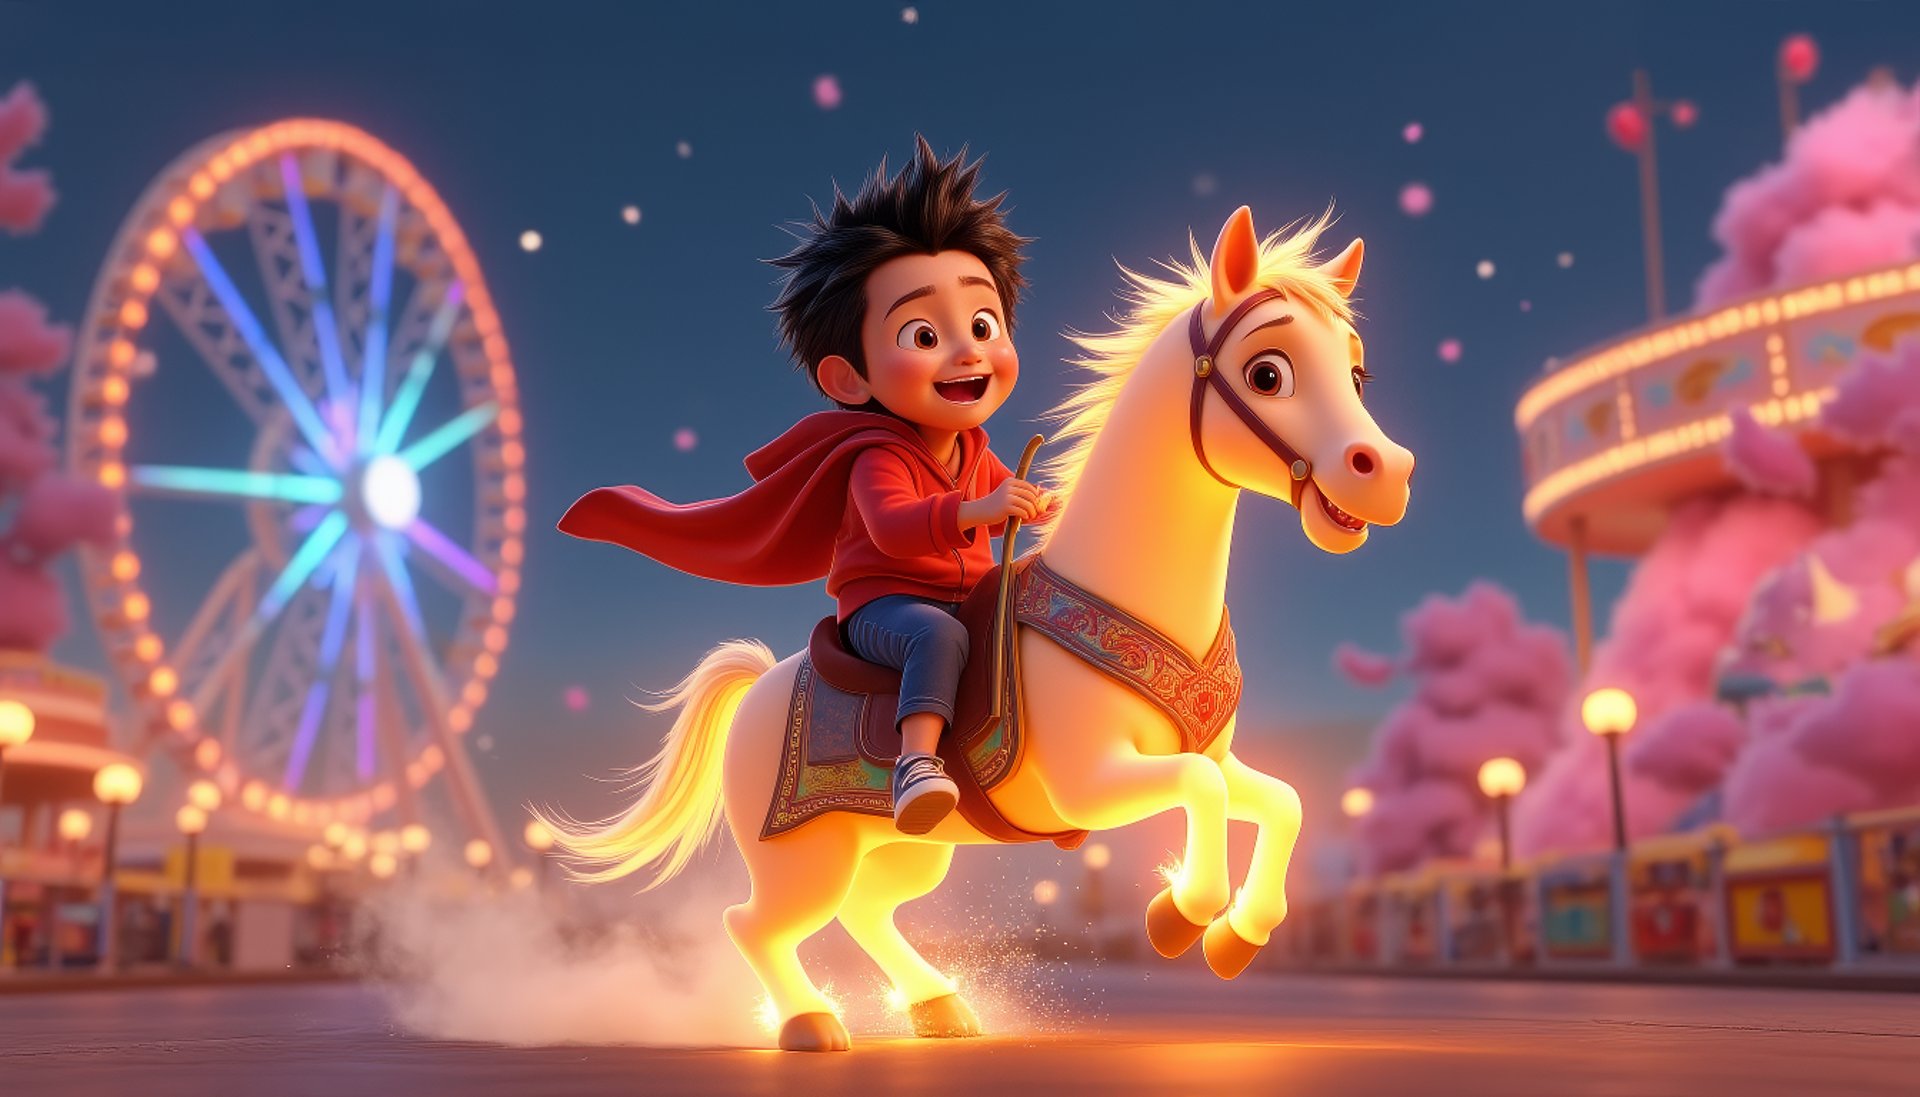
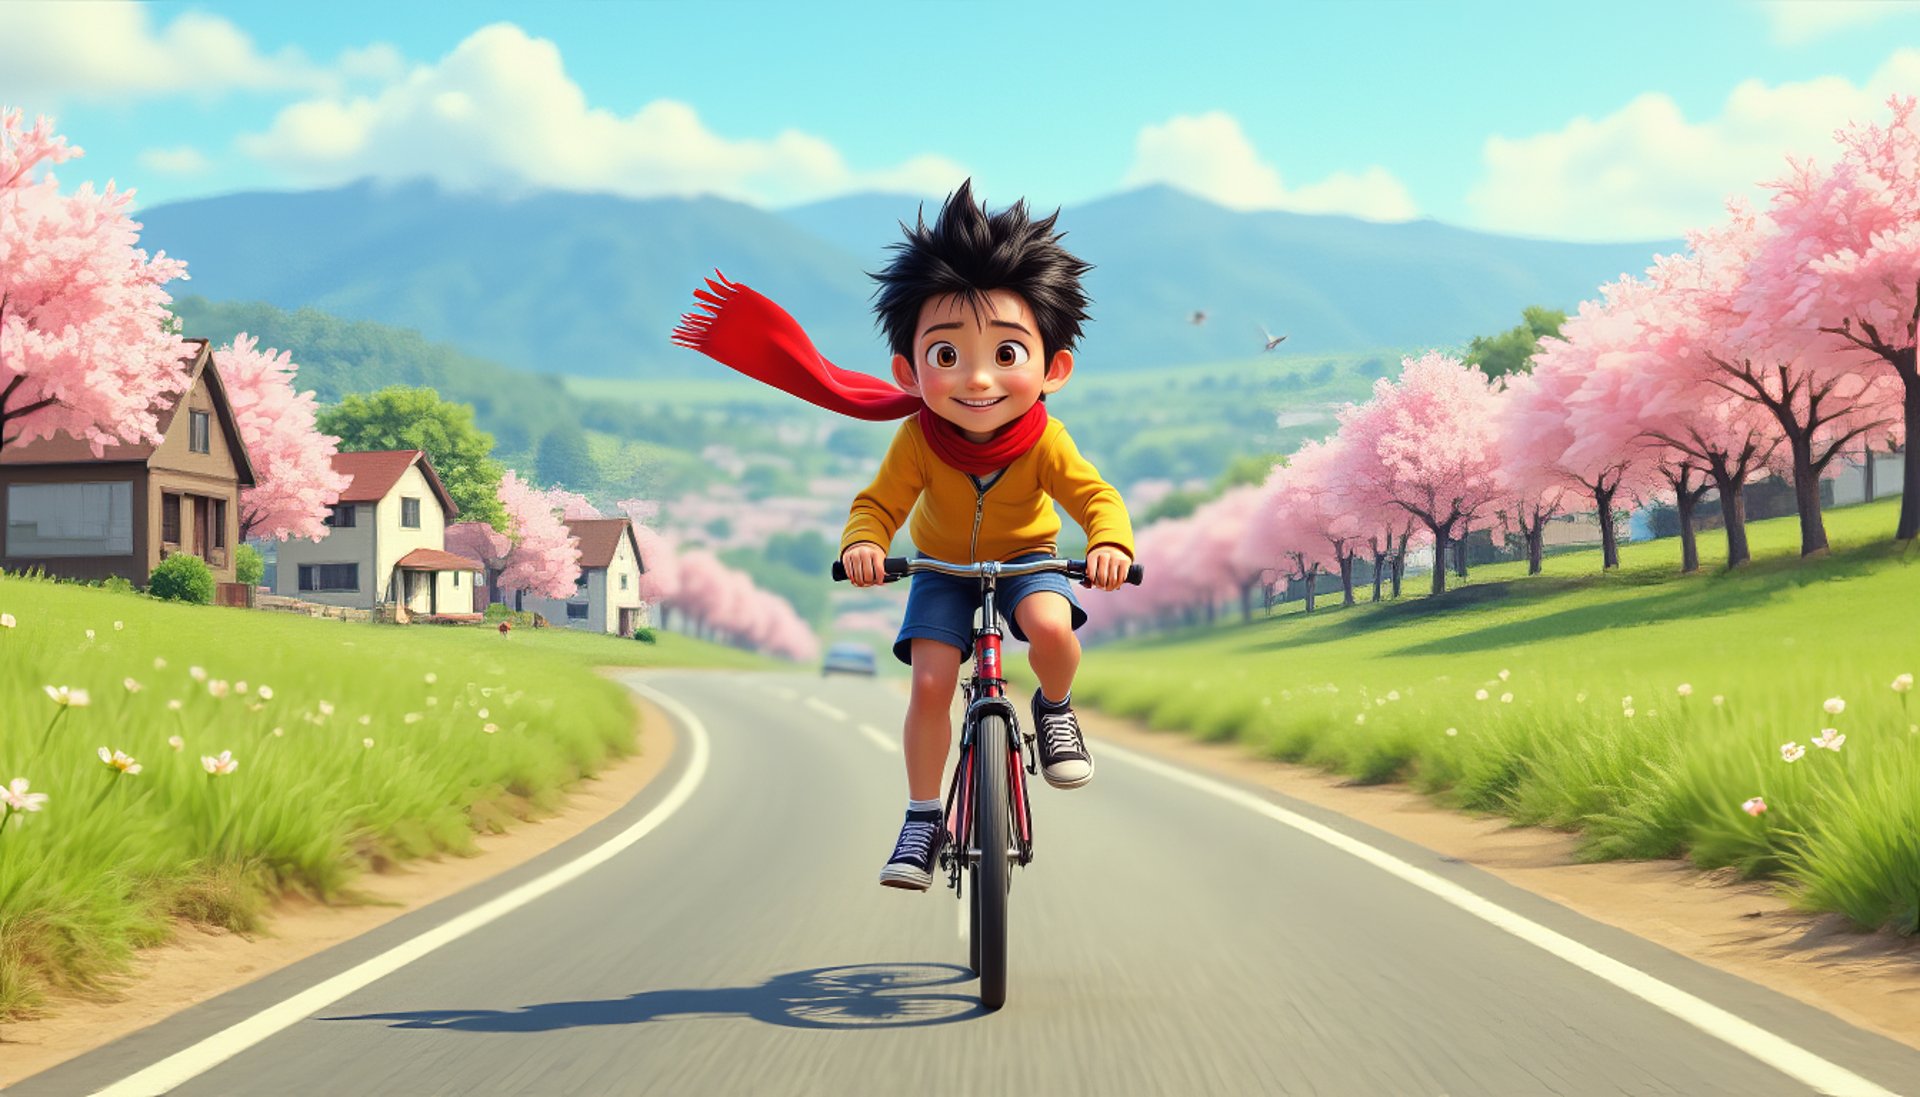
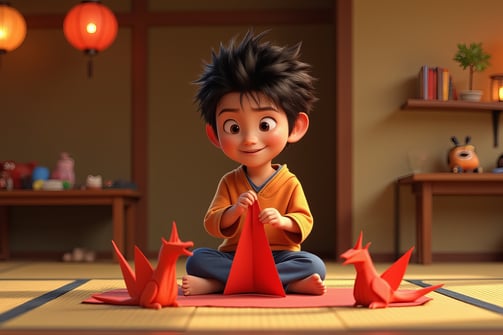
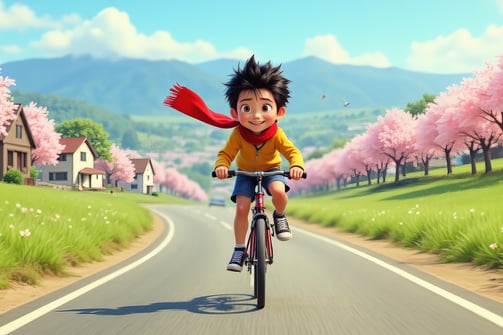
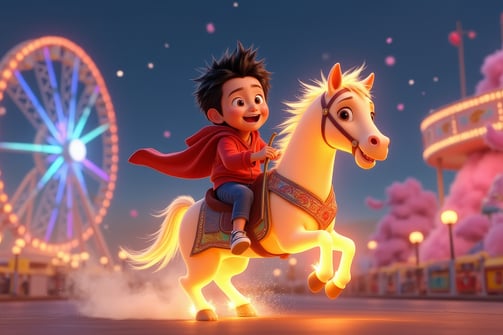
Phase 5: Using the LoRA Model
After completing the training, Hiro is ready to be used in a wide range of contexts. Thanks to the LoRA model, it is possible to:
• Create dynamic and contextual images that reflect the character's lore.
• Integrate Hiro into comics, illustrations, or narrative scenes.
This workflow demonstrates how to develop a versatile model, useful for creating images and creative environments, showcasing the power of an integrated approach between technical tools and creativity.